
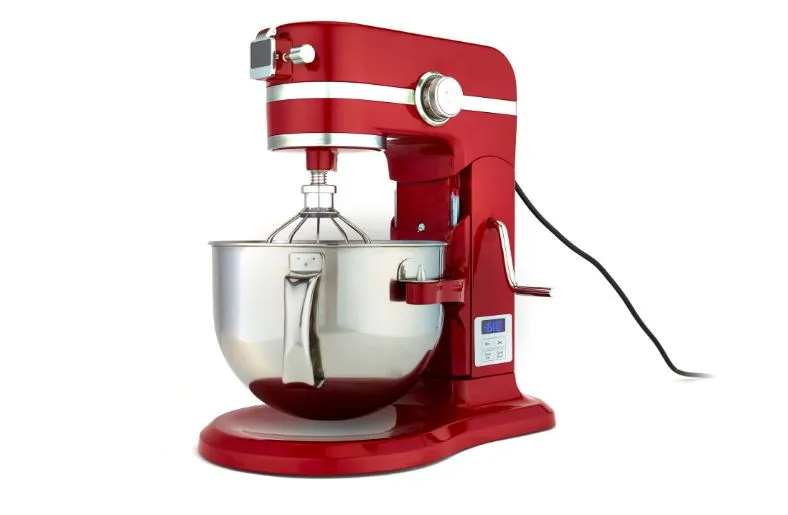
As a passionate home cook and baking enthusiast, my KitchenAid mixer is an essential tool in my kitchen. These powerful and versatile mixers have become a staple for many cooking enthusiasts and professional chefs alike. However, like any other appliance, KitchenAid mixers can experience issues from time to time. One common problem that many users encounter is a grease leak.
In this troubleshooting guide, I will walk you through how to fix a KitchenAid Mixer grease leak, ensuring that you can get back to creating delicious recipes without any interruptions.
Table of Contents
Grease Leak Problem in KitchenAid Mixers?
Before we dive into the troubleshooting process, it’s important to understand what causes a grease leak in a KitchenAid mixer. These mixers are built with a gear mechanism that is lubricated with grease to ensure smooth and efficient operation.
Over time, the grease can start to leak out due to wear and tear or improper maintenance. This can result in a messy and potentially hazardous situation, as the leaked grease can contaminate your food or cause the mixer to malfunction.
Signs and Symptoms of KitchenAid Mixer Grease Leak
Identifying a grease leak in your KitchenAid mixer is crucial to addressing the issue promptly. Here are some common signs and symptoms to look out for:
- Visible grease on the mixer body: If you notice grease accumulating on the exterior of your mixer, it is a clear indication that there is a leak.
- Unusual noises during operation: A grease leak can cause the gears to grind or make strange noises while the mixer is in use. If you hear any unusual sounds, it’s worth investigating further.
- Poor performance: If your mixer is not performing as efficiently as it used to, it could be a result of a grease leak. The lack of proper lubrication can affect the mixer’s overall functionality.
If you notice any of these signs, it’s important to address the issue promptly to prevent further damage to your KitchenAid mixer.
Causes of a KitchenAid Mixer Grease Leak
Understanding the causes of a grease leak can help you prevent the issue from occurring in the first place. Here are some common reasons why a KitchenAid mixer grease leak may develop:
- Worn-out seals: The seals in your KitchenAid mixer can deteriorate over time, leading to a grease leak. This can happen due to regular wear and tear or improper maintenance.
- Overfilling the mixer: Overfilling the mixing bowl can put excessive pressure on the gear mechanism, causing the grease to leak out.
- Incorrect assembly: If the mixer is not assembled correctly, it can disrupt the proper sealing of the gears, leading to a grease leak.
Knowing these causes, you can take preventive measures to avoid a grease leak in your KitchenAid mixer.
Safety Precautions Before Troubleshooting KitchenAid Mixer Grease Leak
Before you begin troubleshooting your KitchenAid mixer grease leak, it’s important to prioritize your safety. Here are some safety precautions to keep in mind:
- Disconnect the mixer: Always unplug the mixer from the power source before attempting any repairs or troubleshooting.
- Wear protective gloves: Grease can be messy and potentially harmful. Wearing protective gloves will ensure that your hands are protected throughout the repair process.
- Work in a well-ventilated area: Some solvents or cleaning agents that you may use during the troubleshooting process can emit fumes. Working in a well-ventilated area will help prevent any respiratory discomfort.
By following these safety precautions, you can minimize the risk of accidents or injuries while fixing the grease leak in your KitchenAid mixer.
Step-by-Step Guide to Fixing a KitchenAid Mixer Grease Leak
Now that we have covered the essential background information, let’s dive into the step-by-step process of fixing your KitchenAid mixer grease leak:
- Gather the necessary tools: Before you begin, make sure you have all the required tools, such as a screwdriver, a clean cloth, and a replacement seal (if needed).
- Remove the housing cover: Start by removing the housing cover of your KitchenAid mixer. This will give you access to the gear mechanism.
- Clean the gears: Use a clean cloth to wipe away any excess grease or debris from the gears. This will help you identify the source of the leak more easily.
- Inspect the seals: Check the seals for any signs of wear or damage. If you notice any issues, carefully remove the old seal and replace it with a new one.
- Reassemble the mixer: Once you have replaced the seal (if necessary), reassemble the mixer by putting the housing cover back in place.
- Test the mixer: Plug in your KitchenAid mixer and test it to ensure that the grease leak has been resolved. If the issue persists, you may need to seek professional repair options.
By following these steps, you can fix a grease leak in your KitchenAid mixer and restore its functionality.
Related Guide: How to Fix Leaking Fuel Injector: Step-by-Step Instructions (2024)?
Troubleshooting Tips for Common Issues during the Repair Process
While fixing your KitchenAid mixer grease leak issue, you may encounter some common issues. Here are a few troubleshooting tips to help you overcome these challenges:
- Difficulties removing the housing cover: If you’re having trouble removing the housing cover, refer to the user manual or online resources for specific instructions. Applying gentle pressure and using the appropriate tools can make the process easier.
- Finding the correct replacement seal: If you need to replace a seal, ensure that you purchase the correct size and type of seal for your specific KitchenAid mixer model. Refer to the user manual or consult a professional if you’re unsure.
- Persistent grease leak: If the grease leak persists even after replacing the seal, it may be a sign of a more serious issue. At this point, it’s best to seek professional repair options to prevent further damage to your mixer.
By keeping these troubleshooting tips in mind, you can navigate through common challenges and successfully fix the grease leak in your KitchenAid mixer.
Preventive Measures to Avoid Future Grease Leaks
Once you have resolved the grease leak issue in your KitchenAid mixer, it’s important to take preventive measures to avoid future leaks. Here are some tips to help you maintain your mixer:
- Regular cleaning and maintenance: Clean your mixer regularly, paying attention to the gear mechanism and seals. This will help prevent the buildup of grease and debris that can lead to leaks.
- Proper assembly: Always ensure that you assemble your mixer correctly, following the manufacturer’s instructions. This will help maintain the proper sealing of the gears.
- Avoid overfilling: Be mindful of the maximum capacity of your mixer’s mixing bowl. Overfilling can strain the gear mechanism and increase the risk of a grease leak.
By following these preventive measures, you can prolong the lifespan of your KitchenAid mixer and reduce the likelihood of experiencing a grease leak in the future.
Conclusion
A KitchenAid mixer grease leak can be a frustrating issue to deal with, but with the right knowledge and troubleshooting steps, you can resolve the problem and get back to enjoying your baking adventures.
Remember to prioritize your safety, follow the step-by-step guide, and take preventive measures to avoid future grease leaks. If all else fails, don’t hesitate to seek professional repair options. By being proactive and attentive, you can keep your KitchenAid mixer in top-notch condition for years to come.