
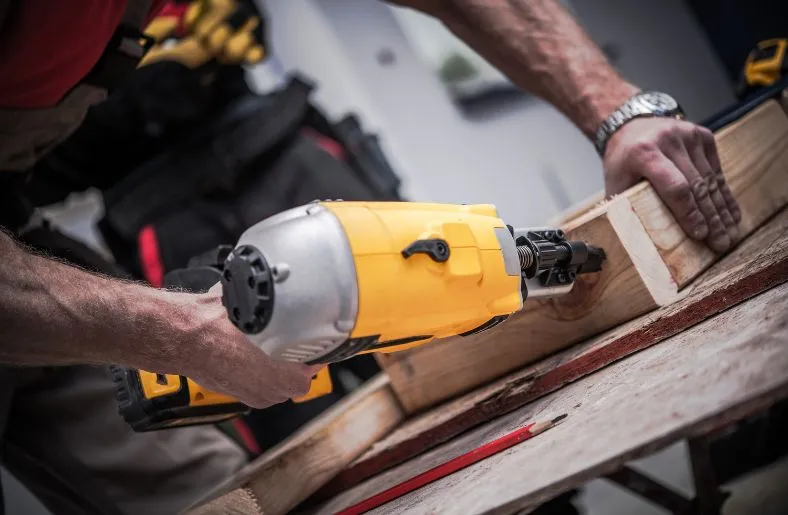
In the world of woodworking, precision and efficiency are paramount. A well-maintained nail gun can be a woodworker’s best friend, speeding up projects and ensuring accuracy. However, like any tool, nail guns require proper care and maintenance to perform at their best. One essential aspect of this maintenance is lubrication.
In this comprehensive guide, we will walk you through the process of how to lubricate a nail gun for woodworking, ensuring it operates smoothly and extends its lifespan.
Table of Contents
Why Lubrication Is Crucial
Lubricating your nail gun is not just a suggestion; it’s a necessity. The moving parts within the gun, including the piston and driver blade, generate friction and heat during operation. Over time, this can lead to wear and tear, reducing the tool’s effectiveness and potentially causing breakdowns. Lubrication serves several critical purposes:
- Friction Reduction: Lubrication minimizes the friction between moving parts, reducing wear and extending the tool’s lifespan.
- Heat Dissipation: It helps dissipate the heat generated during operation, preventing overheating and potential damage.
- Smooth Operation: Proper lubrication ensures that the nail gun operates smoothly and consistently, enhancing your woodworking efficiency.
- Preventing Corrosion: Lubricants create a protective barrier that guards against rust and corrosion, particularly important for pneumatic nail guns exposed to moisture.
- Maintenance Indicator: Regular lubrication provides an opportunity to inspect and clean your nail gun, identifying any potential issues before they become severe.
Now that we understand the importance of lubricating a nail gun let’s delve into the step-by-step process.
How to Lubricating a Nail Gun for Woodworking
1. Gather Your Supplies:
Before you start, gather the necessary supplies:
- The nail gun
- Lubricating oil designed for nail guns (often lightweight pneumatic tool oil)
- Safety glasses
- A clean cloth or rag
- A wrench or Allen key (if required for disassembly)
2. Safety First:
Always prioritize safety. Put on your safety glasses to protect your eyes from any debris or oil splatter.
3. Disconnect the Nail Gun:
Unplug or disconnect the nail gun from its power source or air supply. Safety should always come first when working with tools.
4. Examine the Tool:
Inspect the nail gun for any visible signs of damage or wear. Ensure there are no nails in the magazine and that the gun is not loaded. Remove any existing nails to prevent accidental discharge.
5. Prepare for Disassembly (if needed):
Some nail guns require partial disassembly for proper lubrication. Consult your nail gun’s user manual to determine if this is necessary. If so, use the appropriate wrenches or Allen keys to carefully disassemble the tool according to the manufacturer’s instructions.
6. Apply Lubricant:
Locate the lubrication points on your nail gun. These are typically found near the piston and driver blade. Refer to your user manual for specific guidance on lubrication points and intervals.
Apply a few drops of the recommended lubricating oil into each lubrication point. Take care not to over-lubricate, as excess oil can attract dust and debris, potentially causing clogs.
7. Operate the Nail Gun:
After applying the lubricant, cycle the nail gun a few times without nails to distribute the oil evenly throughout the internal components. This ensures that all moving parts are adequately lubricated.
8. Wipe Excess Oil:
Use a clean cloth or rag to wipe off any excess lubricant from the exterior of the nail gun. This prevents oil from transferring onto your workpieces.
9. Reassemble (if disassembled):
If you had to disassemble the nail gun for lubrication, carefully reassemble it following the manufacturer’s instructions. Ensure all components are correctly aligned and tightened.
10. Test the Nail Gun:
Reconnect the nail gun to the power source or air supply. Load a small number of nails into the magazine and test the nail gun on scrap wood to verify that it operates smoothly and consistently.
11. Regular Maintenance:
Regularly lubricate your nail gun as recommended by the manufacturer. This typically involves lubricating the tool before each use or at specified intervals, depending on usage.
Related Guide: White Lithium Grease for Electrical Connections (2023-2024)? [Explained]
Additional Tips for Nail Gun Maintenance
- Cleanliness Matters: Keep your nail gun clean by removing any dirt, dust, or debris from the exterior regularly. A clean tool is less likely to encounter issues.
- Quality Lubricants: Use high-quality lubricating oil specifically designed for nail guns. Subpar lubricants can lead to poor performance.
- Store Properly: When not in use, store your nail gun in a clean, dry, and protected environment to prevent exposure to moisture or extreme temperatures
- Read the Manual: Always refer to your nail gun’s user manual for manufacturer-specific maintenance guidelines and recommendations.
FAQs
1. Can you use regular oil in a nail gun?
Only use lubricating oil made specifically for pneumatic tools, such as Senco Pneumatic Tool Oil or Paslode Lubricating Oil. Other oils lack the correct viscosity or contain ingredients that can destroy the seals, disintegrate O-rings, or even cause combustion.
2. Can you use WD 40 for nail gun oil?
Never use WD40, motor oil, transmission fluid, or aerosol lubricants. Many generic lubricants eat through rubber over time, which will cause more harm than help in the long run (remember most pneumatic nail guns have rubber o-rings).
3. Can you use vegetable oil in a nail gun?
Vegetable oil will gum up, attract dirt and dust, and eventually end up in a huge mess. DO NOT use it. Mineral oil is a food-safe oil not normally used as a cooking lubricant, but it is the go-to for replenishing wood and lubricating mechanical parts of cooking utensils. It won’t gum up and is OK to use in a pinch.
Conclusion
Properly lubricating your nail gun is a fundamental aspect of woodworking tool maintenance. It reduces friction, dissipates heat, and prevents corrosion, ensuring that your nail gun operates smoothly and consistently. By following this step-by-step guide on how to lubricate a nail gun for woodworking and adhering to regular maintenance schedules, you can extend the lifespan of your nail gun, enhance your woodworking efficiency, and achieve precise and professional results in your projects. Remember, safety is paramount, so always prioritize safety measures while working with power tools.