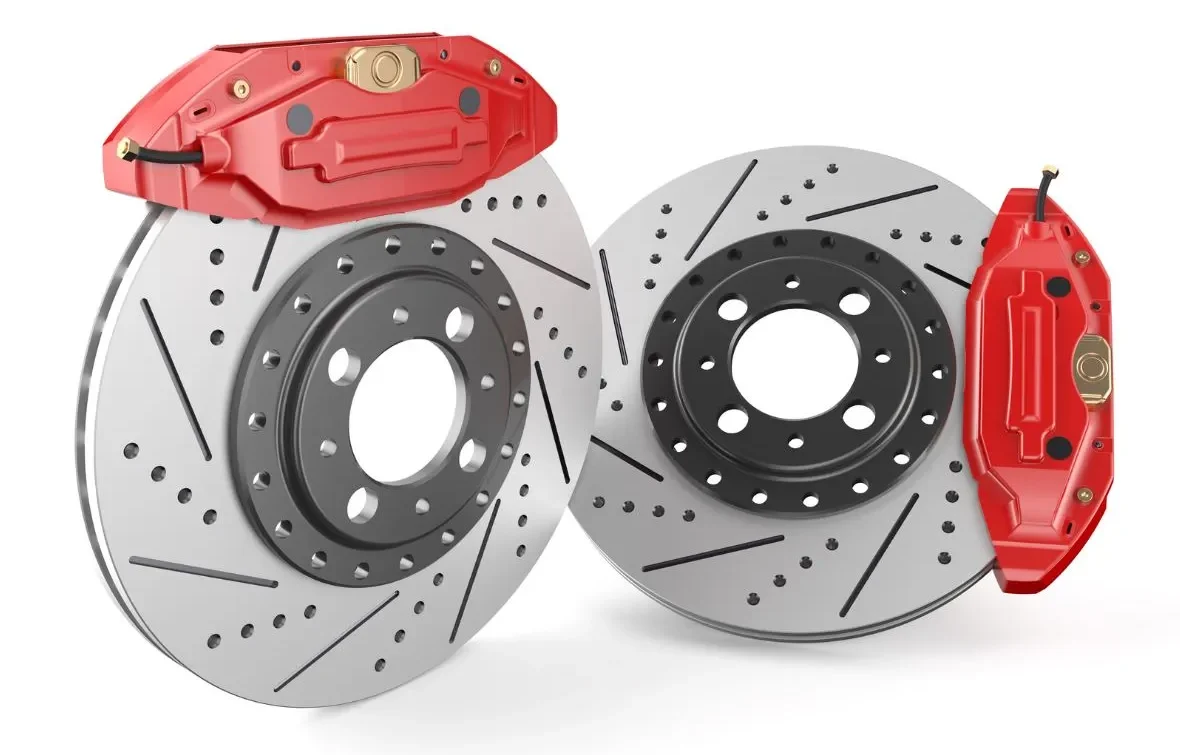
Your vehicle’s braking system is crucial for safety, yet many overlook one of its vital components: the brake caliper slide pins. These small but essential parts ensure your brake calipers move smoothly and evenly, providing consistent braking performance.
In this comprehensive guide, we’ll walk you through the process of how to lube caliper slide pins – a critical maintenance task that can prevent uneven brake wear and maintain optimal braking efficiency.
Table of Contents
Why Caliper Slide Pin Maintenance Matters
Brake caliper slide pins allow your brake calipers to move freely, ensuring even pressure distribution when you press the brake pedal. When these pins become dirty, corroded, or inadequately lubricated, they can stick, leading to several problems. Uneven brake pad wear is often the first sign of troubled slide pins, followed by reduced braking efficiency and the vehicle pulling to one side during braking.
This can result in increased stopping distances and the need for premature brake pad replacement. Regular maintenance of these components can save you money and, more importantly, ensure your safety on the road.
Shop my favourite items below:
- Permatex 24125 Ceramic Extreme Brake Parts Lubricant: https://amzn.to/4lsCxW3
- CRC 05359 Brake Caliper Synthetic Grease: https://amzn.to/4lqO7Rv
- AGS Automotive Solutions 4oz Brush Top SIL-Glyde Silicone Brake Grease: https://amzn.to/42y3cK3
Required Tools and Materials
Before beginning this maintenance task, it’s essential to gather all necessary equipment. You’ll need high-temperature brake grease (specifically silicone-based), a wire brush, clean rags, and brake cleaner for the basic cleaning and lubrication process.
For safety and accessibility, make sure you have a socket set and wrenches, rubber gloves, safety glasses, a jack with jack stands, and wheel chocks. Having all these items ready before you start will ensure a smooth and efficient maintenance process.
How to Lube Caliper Slide Pins: A Step-by-Step Guide
Preparation and Safety
Safety should always be your primary concern when working on brake components. Begin by parking your vehicle on a level surface and engaging the parking brake. Place wheel chocks on the opposite end of the vehicle to prevent any movement.
Before lifting the vehicle, loosen the lug nuts – this is easier and safer than trying to loosen them when the vehicle is elevated. Once loosened, jack up the vehicle and secure it properly with jack stands. Never rely solely on a jack to support the vehicle while you work. Finally, remove the wheel to access the brake components.
Accessing the Slide Pins
The caliper slide pins are typically housed within rubber boots on the caliper bracket. To access them, you’ll need to remove the brake caliper mounting bolts. Carefully lift the caliper away from the rotor, being mindful not to stretch or damage the brake line.
It’s crucial to secure the caliper with wire or a bungee cord to prevent putting stress on the brake line. Once secured, remove the rubber boots covering the slide pins for full access to the components.
Cleaning and Inspection
Proper cleaning and inspection are crucial steps that should never be rushed. Start by removing the slide pins from the caliper bracket. Use brake cleaner and a wire brush to thoroughly clean the pins, removing all old grease, dirt, and debris. Inspect the pins carefully for any signs of scoring, pitting, or excessive wear that might indicate the need for replacement.
Check the rubber boots for tears or deterioration – damaged boots can allow moisture and debris to contaminate the pins. Clean the pin bores in the caliper bracket thoroughly, ensuring all old lubricant and debris are removed. Allow all components to dry completely before proceeding.
Related Guide: How do you Lubricate a Trailer Hitch: Ensuring Optimal Performance and Longevity
Lubrication Process
The lubrication process requires attention to detail and the right materials. Apply a thin, even coat of high-temperature brake grease to the slide pins, ensuring you use silicone-based grease specifically designed for brake components.
Be careful not to over-lubricate, as excess grease can attract dirt and debris. Install clean rubber boots over the pins, making sure they’re properly seated to prevent contamination. The boots play a crucial role in keeping the lubricant clean and functional, so proper installation is essential.
Reassembly
Proper reassembly is critical for ensuring safe brake operation. Start by reinserting the lubricated slide pins into the caliper bracket, verifying smooth movement throughout their range of motion. Position the caliper back onto the bracket, making sure not to twist or kink the brake line. Install and tighten the caliper mounting bolts to the manufacturer’s specified torque – this is crucial for proper operation and safety. Reinstall the wheel and lower the vehicle back to the ground. Finally, pump the brake pedal several times to ensure proper brake operation before taking the vehicle for a test drive.
Post-Maintenance Testing
After completing the maintenance, it’s essential to verify that everything is working correctly. Begin with a stationary test by pressing the brake pedal multiple times to ensure it feels firm and consistent. Then, in a safe area, perform several low-speed brake tests to check for proper operation. Listen for any unusual noises and pay attention to how the vehicle responds during braking. If you notice any pulling, vibration, or unusual sounds, recheck your work before continuing to drive.
Regular maintenance of your caliper slide pins can significantly extend the life of your brake components and ensure optimal braking performance. While this guide provides comprehensive instructions, if you’re ever unsure about performing this maintenance yourself, don’t hesitate to seek professional assistance. Your brake system is too important to risk improper maintenance.
Remember to document your maintenance with dates and mileage, and plan to inspect and lubricate your caliper slide pins at least annually or whenever you replace brake pads. This proactive approach to maintenance will help ensure your vehicle’s braking system remains reliable and effective throughout its lifetime.

